
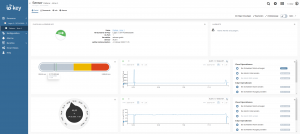
Dashboards enable you to visualise your data individually by means of different widgets. Widgets can display maps, images, graphs, tables and other graphical representations of data. Your io-key cloud offers a number of preset widgets (you will find details in the Widgets section).

Creating dashboards
Select the object (group or device) in the Navigator for that you want to create a Dashboard.
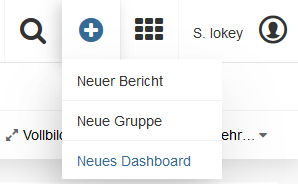
- Click the “Plus” button in the top bar and select “New dashboard” from the menu.
- Enter the following information in the Dashboard info section of the Dashboard editor:
- A name of the dashboard that is also displayed in the Navigator
- The position of the dashboard in the Navigator. “10000” is displayed at the upper position and “-10000” at the lower one
- A symbol is displayed next to the dashboard in the Navigator
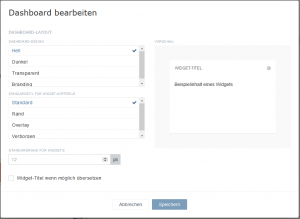
- In the “Dashboard layout” section you can select a design for the dashboard (“Bright”, “Dark”, “Transparent” or “Branding”) and a standard style for the header of the widget (“Standard”, “Border”, “Overlay” or “Hidden”). You can also define the setting for the border of the widget (default value is 12 px). A preview of the selected layout settings is displayed immediately on the right to visualise your settings
- Click “Save” to create and open the dashboard

Info: As no widgets are available yet in the dashboard, only the “Add widget” button is shown.
Editing dashboard attributes
Click “Edit” in the top menu bar to edit a dashboard. The dashboard editor is displayed. You will find detailed information about the individual fields in “Creating dashboards”

Deleting dashboards
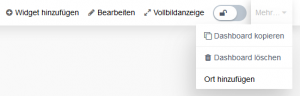
Click “More …” in the top menu bar and select Delete dashboard from the context menu to delete a dashboard from an object.

Adding widgets
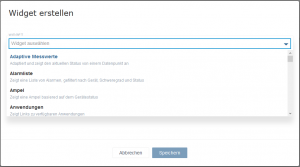
- Click “Add widget” in the top menu bar (or in an empty dashboard). The same applies for the dashboard of io-key and the ones of the sensors
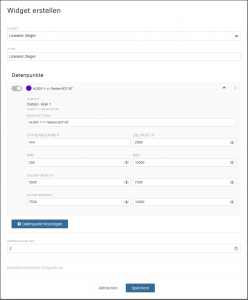
- A window in which you can select a large variety of widgets by drop-down menu opens. Select a widget type from the selection list. Additional fields for editing are displayed depending on the selected type. Details for all widget types
can be found under “Widgets” - Click “User-defined widget style” to individually adapt the style for the content and header of the widget in a similar way as for the definition of the general layout in the Dashboard editor
- Click “Save” to add the widget to the dashboard


Editing or deleting widgets
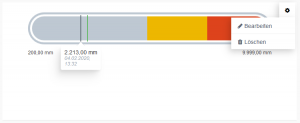
- Click at the top right in the widget on the “Gears icon”
- Then decide whether you want to “Edit” or “Delete” the selected widget
- Press “Delete” if you want to delete it
- Press “Edit” if you want to edit the widget. Different editing options are available for you depending on the widget. However, the widget, title and user-defined widget style always remain the same
You can change the widget size by drawing the arrows in the bottom right corner of the widget.

Info: Dashboards can only be edited if they are unlocked. Use the control button with the lock symbol in the top menu bar to lock or unlock a widget.